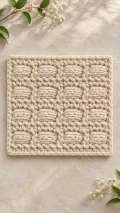
About This Box Stitch Crochet Tutorial Pattern
This original crochet square takes inspiration from the cream sample’s raised boxes and tidy edging. It is worked flat in rows, with four puff stitches spaced across each textured row and single crochet rows separating the bands. The puffs create soft, rounded blocks rather than reproducing the exact construction of the photographed fabric, while a single crochet border frames the finished piece. Smooth, light-colored yarn makes the stitches easy to see, and practicing the puff stitch gives beginners a chance to build confidence with yarn overs, even loops, and counting.
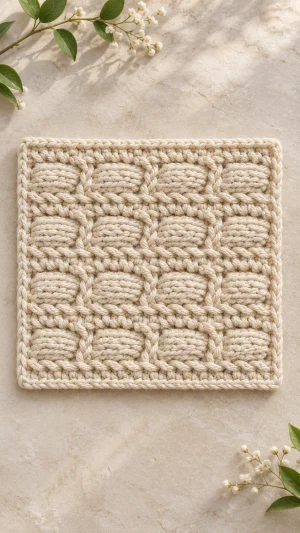
The square is made in one piece, so there are no small components to sew together. Its finished size will depend on your yarn, hook, and tension; measure your own square if you plan to join several pieces or use it for a particular purpose.
Why You'll Love This Box Stitch Crochet Tutorial Pattern
I love how this project turns a few familiar crochet motions into a surface that feels full of detail. You can concentrate on one raised row at a time, then use the single crochet rows to settle into a comfortable rhythm and check your stitch count. The four blocks across each textured row also make it easy to spot a missed stitch before you have gone too far. I appreciate that the square has a straightforward finish: a border, a few woven-in ends, and gentle blocking if the edges need shaping. Make one as a decorative sample or use it beneath a small ornament, or crochet matching squares to join into a cushion cover or blanket. Allow extra yarn and time for joining and for any larger project you choose.
Switch Things Up
I would start by changing the yarn color to suit the room where the square will be used: a soft neutral highlights the raised texture, while a deeper solid shade gives it a more dramatic look. Choose a smooth yarn so that each puff remains easy to distinguish, and use a hook suited to its label. A different yarn weight can make the square larger or smaller, so keep the stitch and row counts unchanged and measure the result before planning a set. For a coordinated collection, I would make several squares in related colors and leave the border the same shade on each one. Change colors at the end of a row by completing the last pull-through with the new yarn, then weave in each end securely.
To make a wider panel, I would add foundation chains in groups of four and add one more puff-and-three-single-crochet repeat for each group, while keeping one single crochet at each edge. Count the resulting stitches after every row, and remember that the border needs one stitch in each top and bottom stitch, plus evenly spaced stitches along the sides. To make the piece longer, repeat the two plain rows and one puff row as a set, then finish with the two plain rows given before the border. Keep the puff rows on the same side of the work so the raised blocks face together. I would use individual squares for a cushion front or join a larger collection for a blanket, checking that they are the same size before sewing them edge to edge. For a coaster-sized version, try fewer four-stitch repeats and fewer textured rows, then measure the result and choose a suitable washable yarn for its intended use.
Common Mistakes & How to Fix Them
✗ If a row grows wider, you may have worked into the puff’s closing chain as well as the puff itself. Skip the closing chain on the following row and count 18 stitches.✗ If the raised blocks lean or look uneven, the puff loops may be different heights. Draw each loop up to the same height before closing the puff, then compare neighboring blocks.✗ If the fabric pulls inward at the puffs, the loops or closing stitch may be too tight. Loosen your tension and check that the row lies flat without stretching.✗ If the blocks appear on alternating sides, a textured row was probably started from the wrong side. Check that the right side faces you before each puff row and undo the misplaced row.✗ If an edge slopes, the first or last single crochet may have been missed. Mark both edge stitches and count 18 stitches at the end of every body row.✗ If the border ripples, there may be too many stitches along the sides; if it cups, there may be too few. Adjust the side spacing and check that the square lies flat.✗ If the yarn ends work loose, they may have been trimmed too close or woven through too few stitches. Thread each tail through several stitches in different directions and check it holds before trimming.